
Restoring Scratched Wooden Jewellery Boxes at Home
Start with the frames you already own
There is something quietly wonderful about a wall of mismatched frames. A chipped gilt number from a charity shop sitting beside a plain oak frame, a bright painted one you did yourself on a rainy Sunday, a slim black rectangle holding a postcard you have had for years. Matching sets look tidy, but they rarely tell a story. Mismatched ones look like a life.
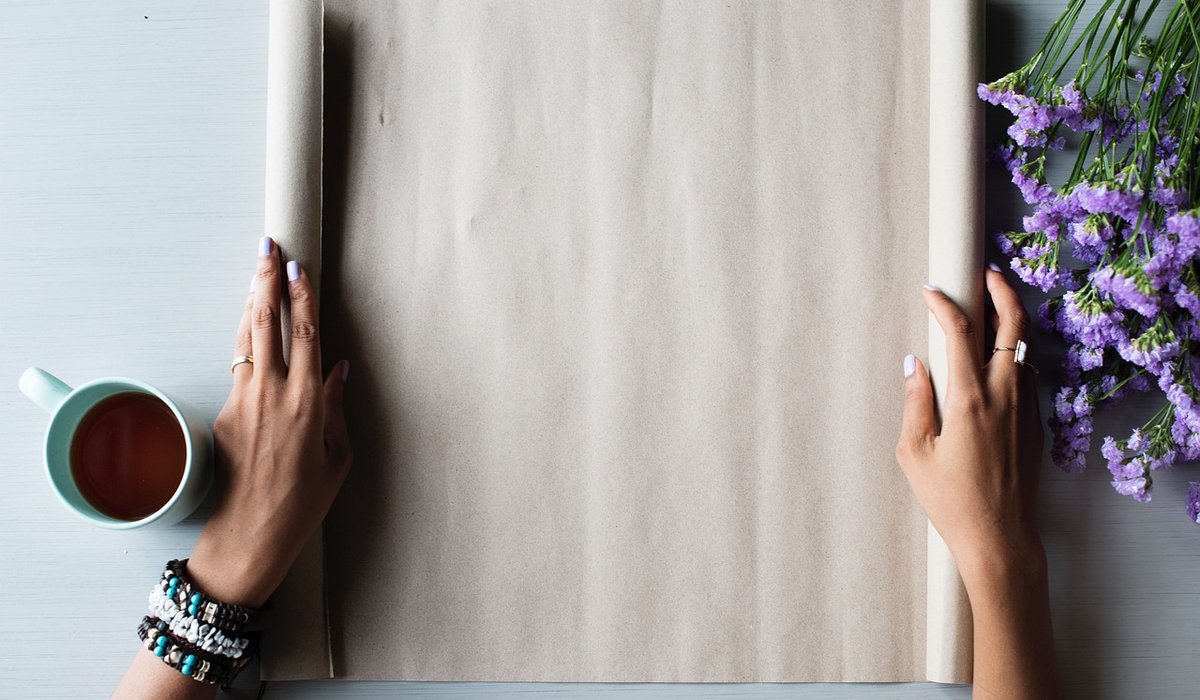
The good news is that you do not need a big budget, a perfect wall or a landlord who tolerates holes. You need a spare hour, a roll of kraft paper and a willingness to move things around until they feel right. This is the sort of hobby that rewards a slow, curious approach — collecting as you go, rearranging on a whim, and treating the whole wall as an ongoing project rather than a job to finish.
Plan on the floor before you go anywhere near a drill
Never start by hammering. Start by clearing a stretch of floor roughly the same width as your wall and arranging the frames there. Shuffle them, swap them, walk away and come back. This stage costs nothing and saves a lot of filler.
- Trace each frame onto kraft paper and cut out the shapes. Write on each paper template what goes where and which way up.
- Tape the templates to the wall with low-tack tape and live with them for a day or two. You will spot awkward gaps immediately.
- Mark the hanging point on each template — hook position, not frame edge — so you can drill or stick straight through the paper.
- Note the weight of each piece. Anything over about 2kg needs a proper fixing, not an adhesive strip.
Aim for 5–8cm of wall showing between frames. Tighter than that looks cramped; wider and the group stops reading as one collection.
Grouping colour brings calm to the chaos
Mismatched does not mean random. The trick is to find one thread that ties everything together — and colour is the easiest thread to pull.
Try gathering all your warm tones in one cluster: honey oak, brass, cream mounts, faded sepia photographs. Put cooler pieces — black frames, silver, grey, blue-toned prints — slightly apart from them. You do not need a strict border, just a gentle drift from one mood to the other across the wall.
Another option is to pick a single accent colour and repeat it in small doses: one red frame, one print with red in it, one red-painted mount. Three touches is plenty. If your frames are wildly different in style, a uniform mount board in off-white or warm grey is the great equaliser — it gives every piece the same breathing room and makes even a jumble of charity-shop finds look considered.
Balancing sizes, shapes and spacing
Begin with your largest piece and place it off-centre — roughly a third of the way across the arrangement. Dead centre makes everything else feel like an afterthought. Build outwards from there, alternating heavy and light.
- Spread the visual weight: a big dark frame on the left wants something substantial on the right, even if it is smaller and paler.
- Mix orientations: two or three verticals to every horizontal keeps the eye moving without looking fussy.
- Hang the centre of the group at roughly 145cm from the floor — around eye level for most adults — so it reads well from standing and from the sofa.
- Odd numbers feel more natural than even ones, but do not force it; five small frames and one big one is a perfectly good six.
If you want a tighter, more graphic look, align the top edges of a row instead of the centres. If you want a looser, gallery-style feel, keep centres roughly aligned and let the edges wander.
Hanging on rented walls without losing your deposit
Rented walls are not a barrier. They just ask you to be a bit cleverer. Match the fixing to the weight and the surface.
- Under 1kg: removable adhesive strips work well on smooth, painted plaster. Clean the wall with a dry cloth first and press firmly for the full recommended time.
- 1–3kg: use two strips per frame, or a single narrow picture hook if the plaster is sound. Two hooks per frame, set a few centimetres apart, also stop pictures from tilting.
- Over 3kg: a proper picture hook or screw fixing into a plug is safer. If you are unsure where the studs are, a magnetic stud finder is cheap and takes seconds.
- Avoid adhesive strips on freshly painted walls (wait a fortnight), textured wallpaper, damp walls or anywhere above a radiator.
When you move out, a little lightweight filler, a finger-smoothed dab and a touch of matching paint will hide almost anything. Keep a small pot of your wall colour in a jar under the sink — it is the single most useful thing a renter can own.
Keep it evolving
The best gallery walls are never finished. Leave a gap here and there for the next find, swap a piece when you tire of it, and let the arrangement grow along the stairs or into the hallway. Rotate prints with the seasons, or move a favourite to a different room for a month and see if you miss it.
Treat the whole thing as a hobby rather than a decorating task. Visit charity shops, car boot sales and local art trails with one eye open for odd sizes. The slightly awkward frame nobody else wants is often the one that makes the wall sing.
LEAVE A COMMENT